English
 Nederlands
 Français
 English (UK)
 Deutsch

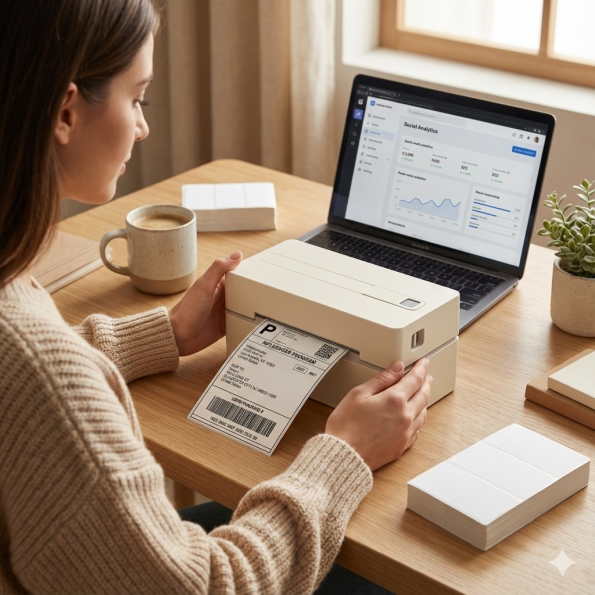
The Y813 label printer can connect to your Mac through a USB cable. Before printing, you need to install the correct macOS printer driver.
Please follow the steps below to complete the installation.
1. Check Your Printer Model
Before installing the driver, check the model label on the bottom of your printer.
Supported Model: Y813:Make sure you are following the Y813 installation guide.
2. Connect the Printer to Your Mac
Please follow this connection sequence:
- Connect the power cord to the power adapter.
- Plug the power cord into a wall outlet and connect the power adapter to the round power port on the printer.
- Connect the supplied USB cable to the printer.
- If your Mac only has USB-C ports, use a USB-C adapter to connect the cable to your Mac.
- Turn on the printer.
3. Check Your Mac’s Processor
Before downloading the driver, check which processor your Mac uses.
- Click the Apple Menu in the upper-left corner.
- Select “About This Mac”.
- Check the information under Chip or Processor.
Choose the correct driver:
- Apple Silicon (M1, M2, M3, M4 and later): Download the M-series Mac driver.
- Intel Processor: Download the Intel-based Mac driver.
Important: Please make sure you download the driver that matches your Mac’s processor.
4. Download the Y813 Mac Driver
Visit our official Y813 macOS driver installation page and select and download the appropriate driver for your Mac.
5. Install the Printer Driver
- Open the downloaded driver file.
- Double-click the installer to start installation.
- If a security warning appears, click “OK” or “Done” to close it.
- Open System Settings > Privacy & Security.
- Find the blocked Y813 driver and click “Open Anyway”.
- Return to the installer and click “Continue”.
- Click “Install” to begin installation.
- Enter your Mac password if requested.
- Wait for installation to finish, then click “Close”.
6. Add the Y813 Printer to Your Mac
After installing the driver:
- Open System Settings.
- Select “Printers & Scanners”.
- Check whether Y813 appears in the printer list.
If the printer is not listed:
- Click “Add Printer, Scanner, or Fax…”.
- Select the USB printer.
- Click the “Use” menu.
- Select “Select Software…”.
- Choose “4Inch Label Printer”.
- Click “OK” to confirm.
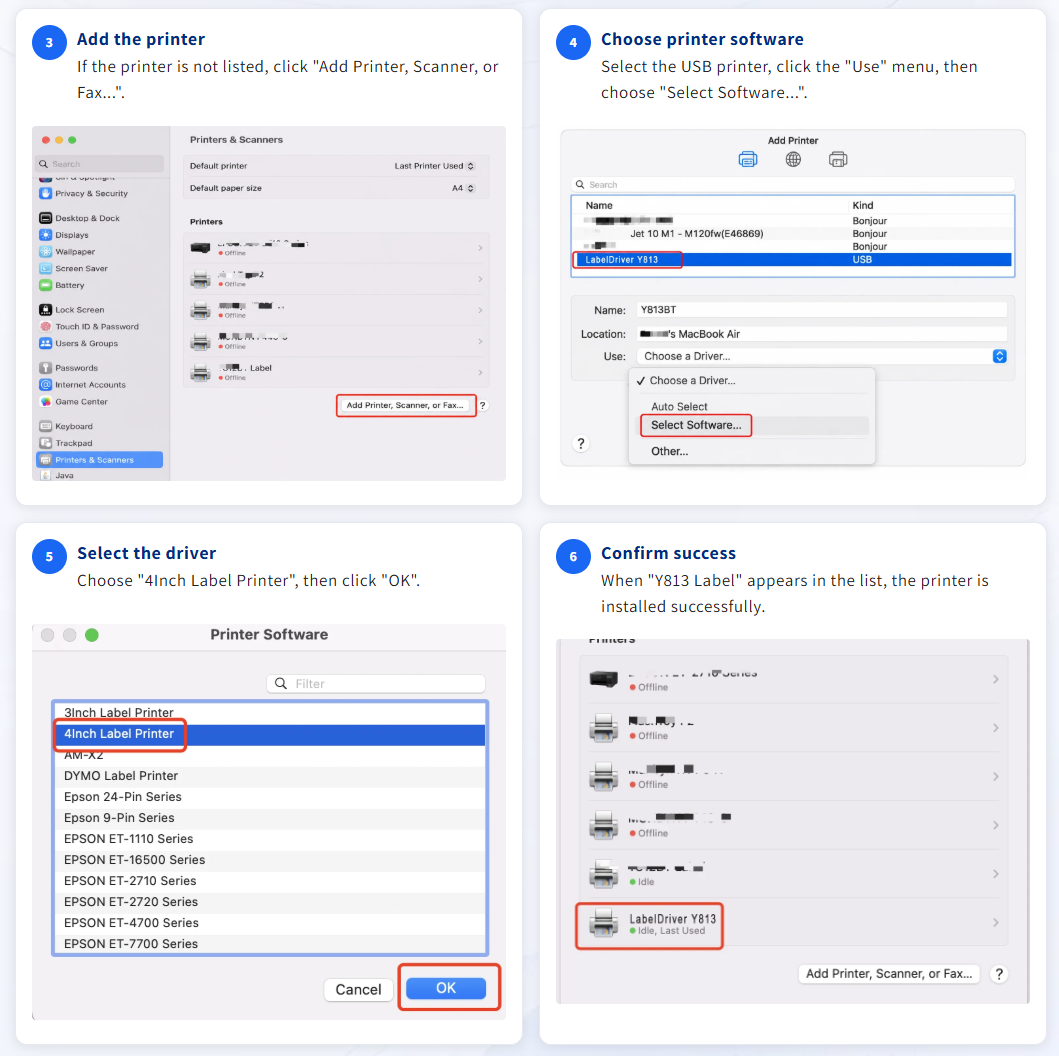
When “Y813 Label” appears in the printer list, the installation is successful.
Note: If your Mac automatically adds the printer after installation, you can skip the manual printer-adding steps.
Troubleshooting: What If Your Mac Cannot Detect the Y813 Printer?
Please try the following:
- Make sure the printer is powered on.
- Check that the USB cable is securely connected.
- Disconnect and reconnect the USB cable.
- Try another USB port or compatible adapter.
- Restart your Mac and printer.
- Make sure you installed the correct driver for your Mac’s processor.
If macOS Blocks the Driver
Go to: System Settings > Privacy & Security > Open Anyway
Allow the installation and continue following the setup instructions.
- If the problem persists, please contact our support team and include your Mac model and macOS version, a screenshot or video of the installation error. We will get back to you as soon as possible.
Have more questions? Submit a request